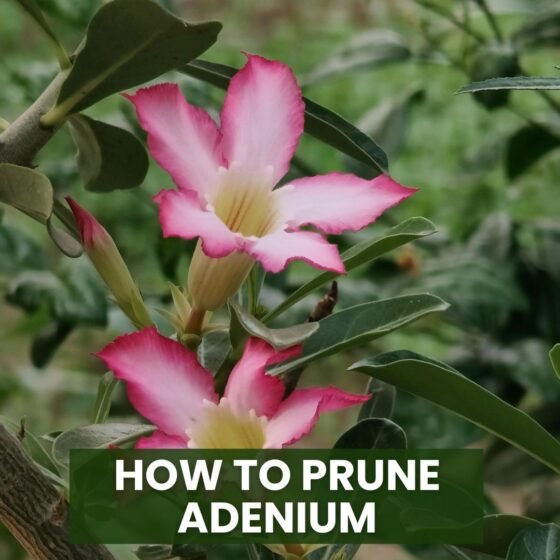
How to Prune Adenium: Easy Steps for a Healthier Desert Rose
The Adenium, also known as the Desert Rose, is a stunning tropical succulent admired for its thick, sculpted trunk and vibrant, trumpet-shaped flowers. However, to keep this plant looking its best, regular pruning is essential.
Pruning helps shape the plant, control its growth, and encourage more blooms. Many plant lovers are hesitant to prune because of Adenium’s unique form, but with the right technique and timing, you can make your plant even more beautiful and balanced.
In this guide, you’ll learn how and when to prune Adenium, step-by-step, using simple, clear methods that promote healthy growth and abundant flowering — perfect for both beginners and experienced gardeners in the US.
Understand Why Pruning Adenium is Important
Pruning is more than just cutting — it’s a vital part of maintaining your Adenium’s health, shape, and longevity. When done correctly, pruning offers several benefits:
-
Stimulates new branch growth for a fuller, bushier look.
-
Prevents leggy or uneven appearance by promoting symmetry.
-
Encourages more flower production.
-
Helps remove dead, damaged, or diseased branches that drain energy from the plant.
Pruning gives your Adenium the perfect bonsai-like shape while keeping it healthy and attractive throughout the year.
When is the Best Time to Prune Adenium
Timing is everything when pruning Adenium. The best time to prune is in late winter or early spring, just before the plant enters its active growing season. This ensures that new branches and flowers can develop quickly after pruning.
Avoid pruning in late fall or winter when the plant is dormant, as it can slow recovery and make it prone to rot. For Adeniums grown indoors, pruning can be done year-round, but the growth response will be stronger during warm months.
Gather the Right Tools for Pruning
Before you start, make sure you have the right tools ready. Using clean, sharp tools ensures neat cuts and prevents infections. You’ll need:
-
Sharp pruning shears or scissors
-
Rubbing alcohol or disinfectant for sterilizing tools
-
Gloves, especially if you have sensitive skin (Adenium sap can irritate)
-
Clean cloth or tissue to wipe sap after each cut
Always sanitize your pruning tools before and after pruning to keep your plant safe from bacteria or fungus.
Step 1: Identify Branches That Need Pruning
Take a good look at your Adenium before cutting. Identify weak, long, or overcrowded stems that affect its shape.
Also, check for dead or damaged branches, as they can spread disease. If your plant looks too tall or unbalanced, note the areas where cuts will improve symmetry. The goal is to maintain a compact, rounded form that enhances the plant’s caudex (the thick base trunk).
Step 2: Make Clean Cuts Above a Leaf Node
When pruning, always make cuts just above a leaf node or branching point. This encourages new shoots to grow from that point, creating multiple stems and a fuller look.
Avoid cutting too close to the node or leaving long stubs, as these can cause rot or uneven healing. A clean, angled cut helps water drain off, reducing the risk of fungal infection.
Step 3: Remove Dead or Diseased Branches
Dead or diseased branches take up valuable energy and can attract pests. Cut them off completely using disinfected shears.
If you notice blackened or soft stems, prune below the affected area until you reach healthy tissue. Always wipe your tools with alcohol after cutting diseased parts to prevent spreading any pathogens.
Step 4: Shape the Adenium for Better Growth
One of the joys of growing Adenium is shaping it into a beautiful bonsai-like structure. Trim uneven or crossing branches to maintain balance and symmetry. For tall plants, shorten the main stem slightly to encourage side shoots.
The goal is to create a round, compact canopy that enhances the thick, sculptural trunk below. Regular shaping also helps sunlight reach all parts of the plant evenly.
Step 5: Prune the Top for More Branches and Flowers
Cutting the top portion of the Adenium encourages it to grow new side branches, which in turn produce more flowers.
Each time you prune the top growth, the plant responds by sending out multiple shoots from below the cut. This method helps you achieve a fuller plant with abundant blooms during the growing season.
Step 6: Avoid Over-Pruning
While pruning is beneficial, overdoing it can shock the plant. Never remove more than one-third of the branches at once.
If your Adenium is very overgrown, prune it in stages over several weeks. This gives the plant time to recover and prevents excessive sap loss. Balance is key — prune enough to encourage growth without stressing the plant.
Step 7: Let the Cuts Heal Naturally
After pruning, let the cut ends dry and form a callus before watering again. This healing process usually takes a few days and prevents rot.
Avoid watering immediately after pruning, as moisture can enter fresh cuts and cause fungal growth. If desired, you can apply cinnamon powder or sulfur dust on the cuts to help seal and disinfect them naturally.
Step 8: Encourage New Growth After Pruning
Once your Adenium is pruned and healed, it’s time to stimulate fresh growth. Place the plant in a warm, sunny location with at least six hours of direct sunlight daily.
Water sparingly until new shoots appear. Fertilize lightly using a balanced fertilizer to support recovery and new development. Within a few weeks, you’ll notice vibrant green shoots emerging from the pruned areas.
Step 9: Pruning Adenium for Bonsai Styling
If you’re training your Adenium as a bonsai, pruning plays an even bigger role. Focus on cutting unwanted branches to highlight the thick caudex and root structure. Trim small branches to create space and balance.
Bonsai-style pruning should be gradual, allowing you to sculpt your Adenium over time into an artistic shape with a natural flow and proportion.
Step 10: Special Tips for Indoor Adenium Pruning
Indoor Adeniums tend to grow slower due to limited sunlight. Prune these plants lightly but regularly to maintain shape and prevent legginess.
Position your plant near a bright window or under a grow light after pruning to boost recovery. Indoor pruning should be gentler since the environment is less intense compared to outdoor conditions.
How to Prune Adenium After Flowering
Once your Adenium finishes flowering, it’s the perfect time for maintenance pruning. Remove faded blooms and trim the top portion slightly to encourage the next round of buds.
Post-flowering pruning rejuvenates the plant, helping it redirect energy toward new growth instead of seed production. This routine ensures continuous flowering throughout the warm season.
Common Mistakes to Avoid When Pruning Adenium
-
Pruning during dormancy: Can slow healing and lead to rot.
-
Cutting too close to the caudex: May cause deep scars or infection.
-
Ignoring sanitation: Dirty tools can spread disease.
-
Pruning too often: Prevents the plant from recovering and flowering.
-
Watering immediately after cutting: Increases the risk of stem rot.
Avoiding these mistakes will help your Desert Rose remain strong, attractive, and long-living.
When to Repot After Pruning
If you plan to repot your Adenium, it’s best to wait a few weeks after pruning. This gives the plant time to heal and prevents shock.
Repotting immediately after heavy pruning can stress the plant, especially if roots are also being trimmed. Use a well-draining soil mix and avoid watering for a few days after repotting to help the plant adjust smoothly.
How Often Should You Prune Adenium
In general, prune your Adenium once or twice a year, depending on its growth rate and shape. Light trimming can be done throughout the growing season, while major pruning should be reserved for spring.
Regular maintenance ensures your Desert Rose stays compact, healthy, and full of blooms all year long.
Final Thoughts
Learning how to prune Adenium properly can completely change how your Desert Rose grows and blooms.
With the right timing, clean cuts, and patience, your plant will reward you with stunning flowers, a balanced shape, and a healthy caudex that looks like a living sculpture.
Remember — prune in late winter or early spring, let cuts heal before watering, and maintain a regular routine for lasting results.
With these techniques, your Adenium will thrive, adding beauty and character to your garden or indoor collection for years to come.